Creating a rain garden – nature’s own soakaway
With increasingly dramatic weather events due to climate change, garden and landscaping experts are becoming increasingly inventive in the way they deal with the effects. One such method, first developed in the United States in the 1990s (and now gaining ground, as it were), is the rain garden.
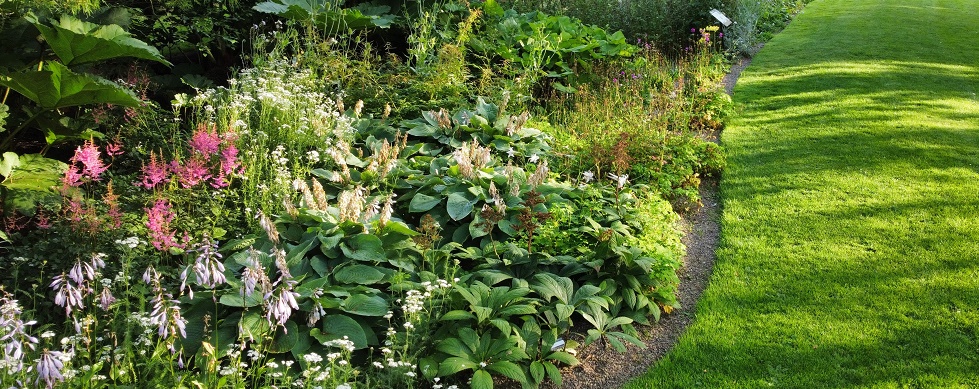
These features, also known as bioretention facilities, are not only an environmentally friendly way to deal with stormwater runoff – reducing flow rate, total quantity and pollutant loads – they can add both beauty and biodiversity to many outdoor spaces.
While it takes careful planning, planting and landscaping to create one, the results can be hugely beneficial, especially for the planet.
Why create a rain garden?
Rain gardens bring big benefits, even to small garden spaces. Setting aside their aesthetic credentials for a moment, whether you’re designing for an individual customer or an organisation, rain gardens are ideal as a major component of a SuDS (Sustainable Drainage System).
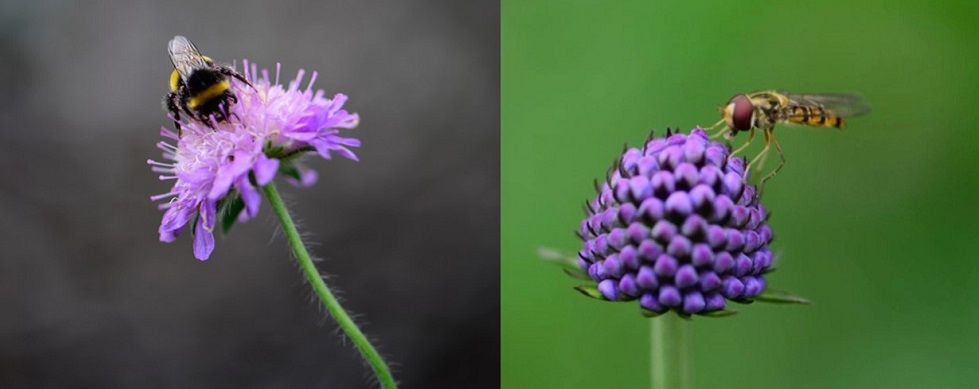
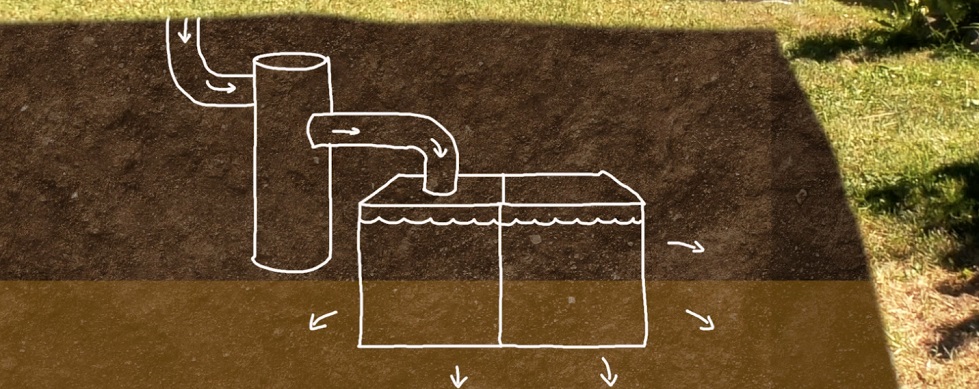
Take the four SuDS principles: quantity, quality, amenity and biodiversity. In storms, as large volumes of rainwater runs off roofs, instead of overwhelming local sewers, water can be channelled into the rain garden, using it as a large, natural soakaway that reduces the runoff flow rate, absorbs the total quantity of water and extends the lag time of its infiltration, slowly recharging valuable groundwater supplies. This is also the phase where water quality is improved. Not only has the rain garden prevented polluted stormwater reaching the sewers, it can now gradually and naturally filter out those pollutants. Amenity is catered for as the water is held longer in the soil before being taken up by the feature’s plants and shrubs. Plus, as you’d expect, an area like this (which allows for diverse planting), also attracts wildlife, thus creating more than its fair share of biodiversity.
And there’s no need to limit rain gardens to, well, gardens. Any large paved area – a private car park, for instance – would be an ideal source for runoff water that could be exploited to feed this kind of feature. The truth is, wherever you plant a rain garden it will ultimately result in a decrease of ambient air and water temperature. This makes them especially valuable in urban areas where large areas of impermeable surfaces cause the air to heat up and contribute to climate change.
Planning and building a rain garden
We could probably write a whole eBook on how to construct the perfect rain garden, but for now let’s just look at the basics.
First off, you’ll need to check the soil type is suitable. Heavy clay soils aren’t great for this kind of feature, but you can test the texture of the soil to see how quickly it drains. Dig a 250mm-deep hole and fill it with water. Once it’s drained away, fill it again, but see how long it takes to drain. If it’s longer than 50mm per hour, the site could be unsuitable*.
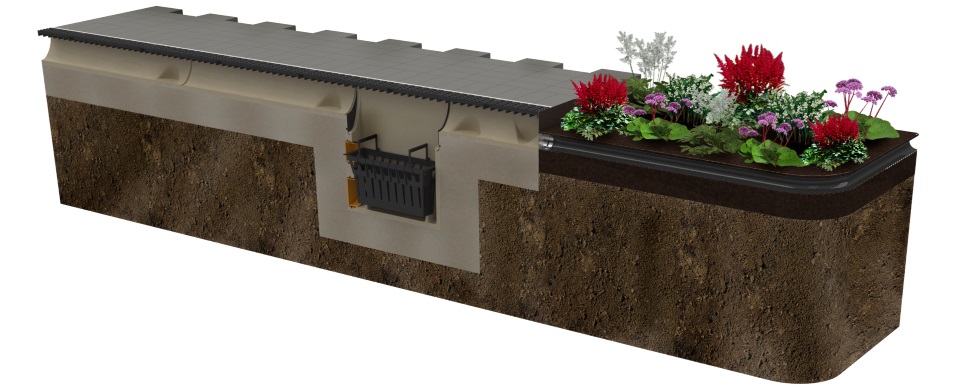
If soil drainage isn’t an issue, take a brief survey of the property or open space to see where most of the runoff water is coming from. If it’s a house roof, for instance, choose an area 5m or more from the building and use channel drainage (or dig a natural rill) to get the water from the downpipe to the dip. A nearby shallow area or natural depression would obviously be ideal, otherwise it’s a case of digging out a suitable expanse of ground. If you measure the surface area of the roof that will be providing the rainwater, the rain garden would ideally be 20% of that area. If you’re using the water from ground surface runoff – a driveway, patio or similar impermeable surface —you should plan in a sump unit between the channel and the rain garden itself, that way the water entering the feature will be cleaner.
As you dig out the site (staying aware of any cables or pipes below ground), imagine its profile as that of a saucer – gently curved sides coming down to a flat bottom. While you dig, you can use the soil you’re removing to create a berm. This is a lip around the feature, constructed of compacted soil. Usually about 6 inches high and a foot wide, the berm will help keep rainwater in, but remember to leave a gravel filled channel for excess water to escape into a suitable overflow system. You could also install a gulley within the rain garden to capture overflow. This might be worth thinking about if the feature is going to be sited anywhere near a boundary.
Now for the planting…
Creating a mix of native and non-native plants
The planting possibilities are almost endless, but we believe a good choice would be a combination of non-indigenous plants that are happy in waterlogged soil, with indigenous species that native birds and insects are familiar with.
Typically, a rain garden would benefit from around 10 species, planted in two or three clumps per square metre. Rain gardens are unlikely to be damp all year round, so you’ll need plants that are happy in wet as well as dry soil at the edges of the feature. Elders such as the species Sambucus nigra offer attractive purplish-black foliage – and berries may also be an extra bonus. Rosa rugosa or Roseraie de L’hay brings fragrance with its purplish-crimson flowers, seen through summer and autumn.
For the base you can try herbaceous perennials like Carex pendula whose linear, pleated leaves provide great cover for insects. Or for a beacon of bright white, the arum lily, Zantedeschia aethiopica, produces attractive funnel-shaped spathes, each containing a vivid yellow spadix.
A general wildflower grassland mix can make for an attractive perimeter berm. This can then be mown or grown, depending on the design of the surrounding spaces. As ever, the RHS website provides a wealth of information on ideal candidates that can thrive in rain gardens, allowing you to make design decisions around colour and cover.
Maintaining a rain garden
Not only do rain gardens look great and serve the planet well, they’re also simple to maintain. They’ll require a little TLC, initially, particularly weeding as the beds mature to enable your chosen plants to thrive, but once everything is established, as the name implies, little watering will be necessary.
During hot spells, evaporation can remove about three litres of moisture per square metre, per day, so you may need to top up from the water butt — but mainly, it’s just a case of removing dead plants in winter and checking for any signs of erosion. To counteract this, you may want to consider some additional compacting of the berm.
Share your own rain garden stories
Since their introduction around three decades ago, rain gardens have been growing in popularity. With their ability to combine beautiful design with sustainability, that trend can only continue. If you’d like some inspiration for creating your own designs, use the links below and they’ll take you to some fine examples of successful rain garden projects.
Then again, if you’d prefer to be the one doing the inspiring, and you’ve already created a rain garden for a customer, why not share pictures of your project and we’ll feature them here on the ACO website.
Successful rain gardens
Five facts & figures
- Rain gardens can absorb more than 30% more water than a lawn
- Typically, a rain garden will be 150 – 450mm below the original ground level
- Ideally, they should be sited more than 5m from a property
- 7 plants per square metre is a good planting strategy
- A rain garden should be at least 20% of the roof or surface area supplying it
Note: should you decide there isn’t enough space for a rain garden, we can still help with the specification of our own ACO StormBrixx underground soakaways.
For more tips, advice and product information for garden designers & landscapers please see our page here: